Freedom Floor rack
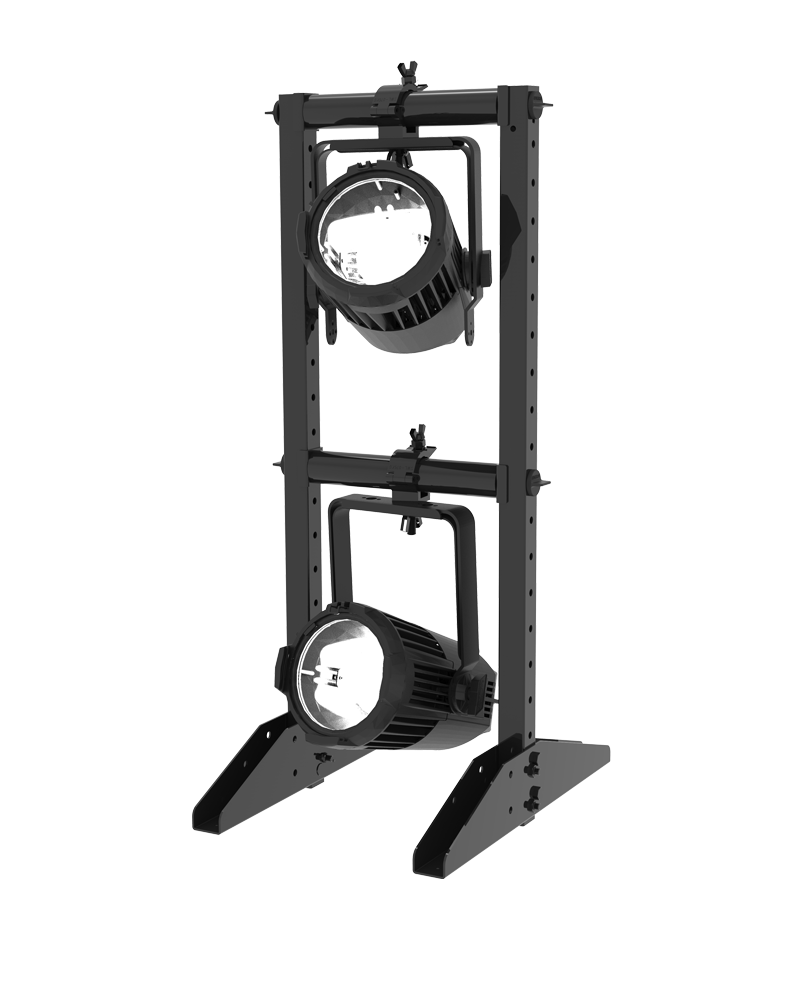
Have you already gotten your hands on our down rigger system? Then you are one step away from using it as a lighting tower.
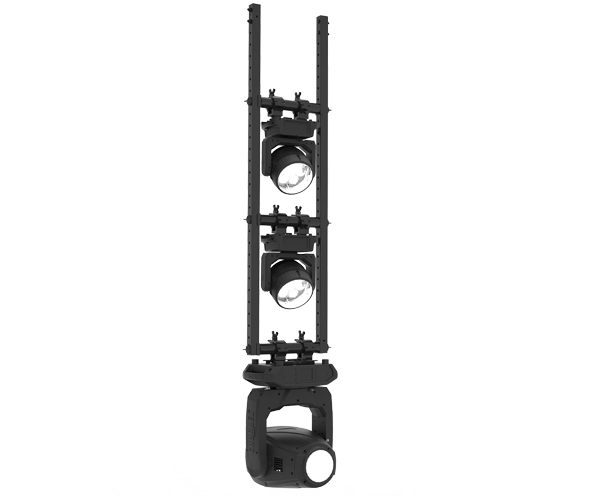
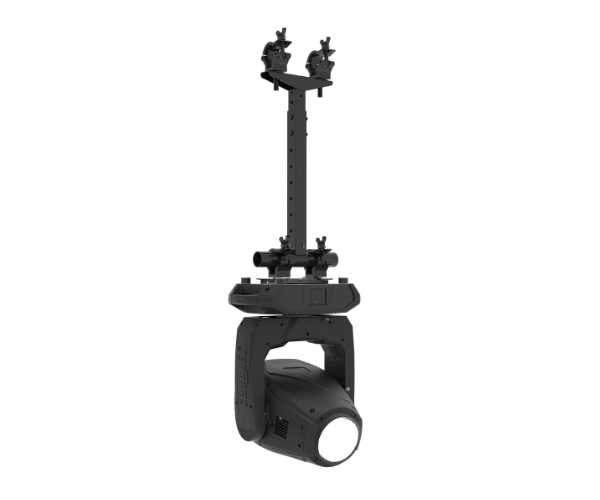
You simply turn a down rigger upside down, slide it into our aluminum base and your floor rack is born. You can use it as a sidelight tower, moving head tower or floor stand.
You would never have thought so many applications could fit into one rack set!

BUILD A floor rack STEP BY STEP
Step 1 Choose the length profiles

To set up your Floor rack, you will first need two length profiles. Depending on what your preferred height is for the Floor rack, you can select one of the four size variations available for these profiles: 50 cm, 100 cm, 150 cm and 200 cm.
STEP 2 ADD SUPPORT BASE
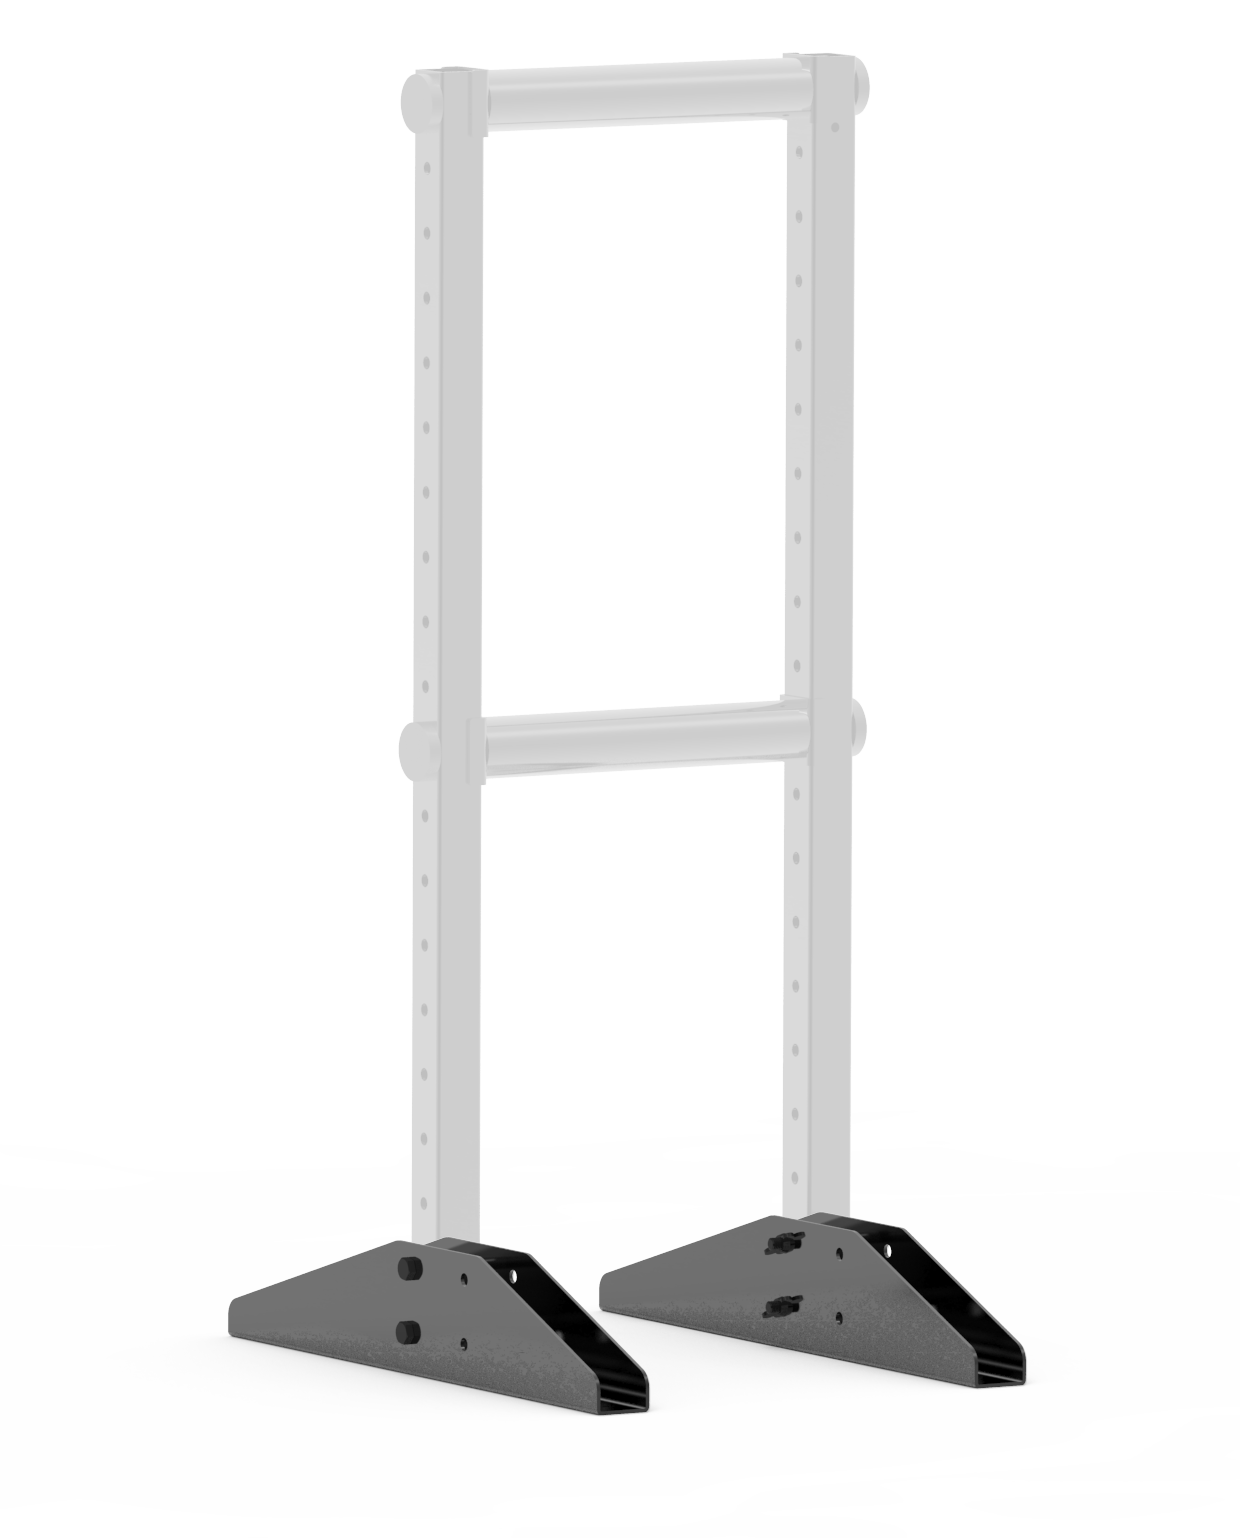
The selected length profiles will each be connected to a support base, either symmetrically or asymmetrically depending on the type of fixture you wish to hang in the system.
For front-heavy fixtures, it is impotant that the length profiles are positioned asymmetrically so that the point of gravity of the applied load is in the centre of the Freedom support base.
STEP 3 CHOOSE THE HANGERS
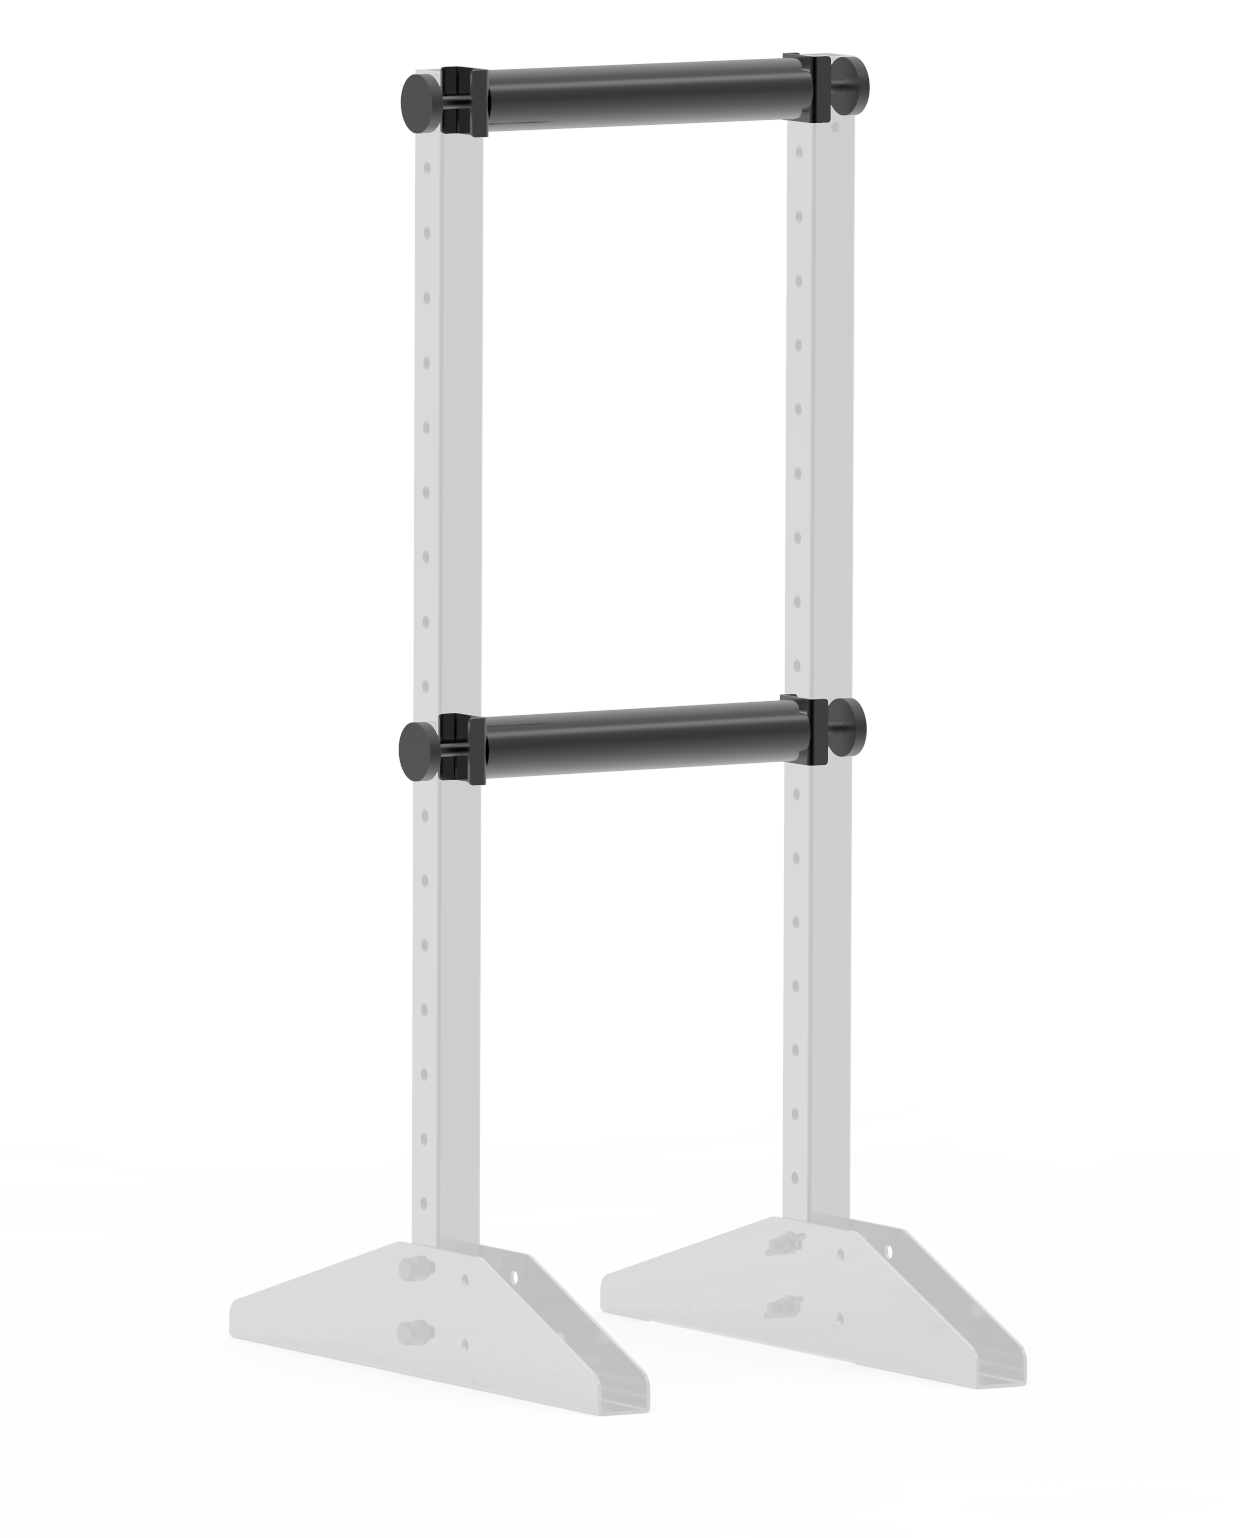
Further, hangers have to be fitted between the length profiles selected. Admiral Staging's hangers are made out of stainless steel and they are offered in four different sizes: 30cm, 40 cm, 50 cm and 60 cm.
After choosing the right size and deciding where on the length profile the hangers will be placed, they can be assembled by connecting the Safety set provided with a bolt.
extend the floor rack even more

Our modular system allows you to easily expand your Floor rack construction horizontally by joining multiple floor racks to each other. You can choose to connect floor racks of different heights and widths.
With our Freedom system, the possibilities are limitless!
more freedom options
.png)
Freedom
Floor rack
Have you already gotten your hands on our down rigger system? Then you are one step away from using it as a lighting tower.
You simply turn a down rigger upside down, slide it into our aluminum base and your floor rack is born. You can use it as a sidelight tower, moving head tower or floor stand.
You would never have thought so many applications could fit into one rack set!
BUILD A floor rack STEP BY STEP
Step 1 Choose the length profiles
To set up your Floor rack, you will first need two length profiles. Depending on what your preferred height is for the Floor rack, you can select one of the four size variations available for these profiles: 50 cm, 100 cm, 150 cm and 200 cm.
STEP 2 ADD SUPPORT BASE
The selected length profiles will each be connected to a support base, either symmetrically or asymmetrically depending on the type of fixture you wish to hang in the system.
For front-heavy fixtures, it is impotant that the length profiles are positioned asymmetrically so that the point of gravity of the applied load is in the centre of the Freedom support base.
STEP 3 CHOOSE THE HANGERS
Further, hangers have to be fitted between the length profiles selected. Admiral Staging's hangers are made out of stainless steel and they are offered in five different sizes: 30cm, 40 cm, 50 cm, 60 cm and 80 cm.
After choosing the right size and deciding where on the length profile the hangers will be placed, they can be assembled by connecting the Safety set provided with a bolt.
extend the floor rack even more
Our modular system allows you to easily expand your Floor rack construction horizontally by joining multiple floor racks to each other. You can choose to connect floor racks of different heights and widths.
With our Freedom system, the possibilities are limitless!